
A guide on how to move files from an iPhone to a Mac
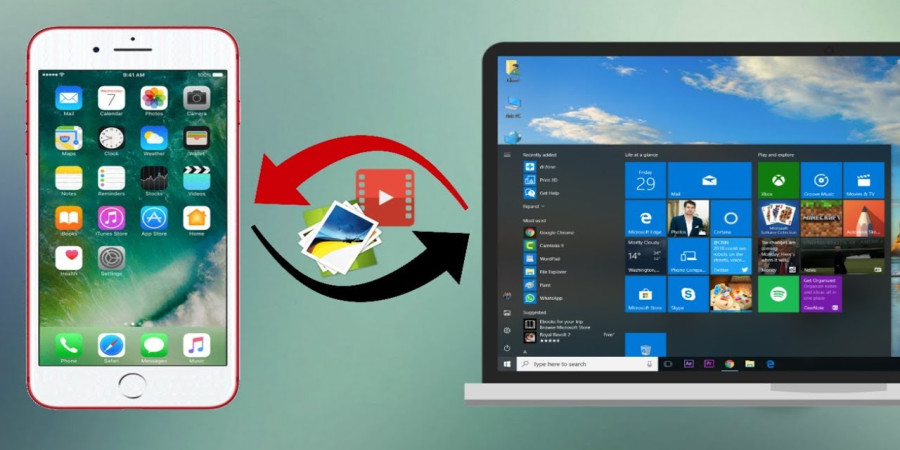
Transferring files from your iPhone to your Mac is a simple process that allows you to access and manage your files seamlessly. To begin, connect your iPhone to your Mac using a USB cable. Then, open the Finder application on your Mac and select your iPhone from the sidebar under the "Locations" section.
Once connected, you can choose to transfer specific files or entire folders by dragging and dropping them from your iPhone to a desired location on your Mac. Alternatively, you can also use the Import button in Finder to select the files you want to transfer.
If you prefer an automatic file-transfer method, consider using Apple's built-in software called AirDrop. Enable AirDrop on both your iPhone and Mac by swiping up from the bottom of the screen (on iPhone) or opening Finder preferences (on Mac). Choose who you want to share with in AirDrop settings on both devices.
Furthermore, iCloud Drive enables seamless synchronization of files between your devices. Simply enable iCloud Drive on both your iPhone and Mac, and any changes made to files stored within the designated iCloud folders will automatically be reflected across all synced devices.
To wrap up, transferring files from an iPhone to a Mac is straightforward through various methods such as using a USB connection via Finder, utilizing AirDrop for wireless transfers, or leveraging iCloud Drive for automatic syncing. These options provide flexibility based on individual preferences and ensure efficient management of files between devices.
Popular articles

Jul 11, 2023 03:00 PM

Jul 11, 2023 03:07 PM

Jul 11, 2023 02:55 PM

Jun 23, 2023 12:52 PM

Jul 11, 2023 02:50 PM
Categories
Comments (0)